


But seriously, it's been the coldest it has been in 20 years. There's no snow, no sleet, not even a true cover of frost in the morning. But my poor body is not coping.
 |
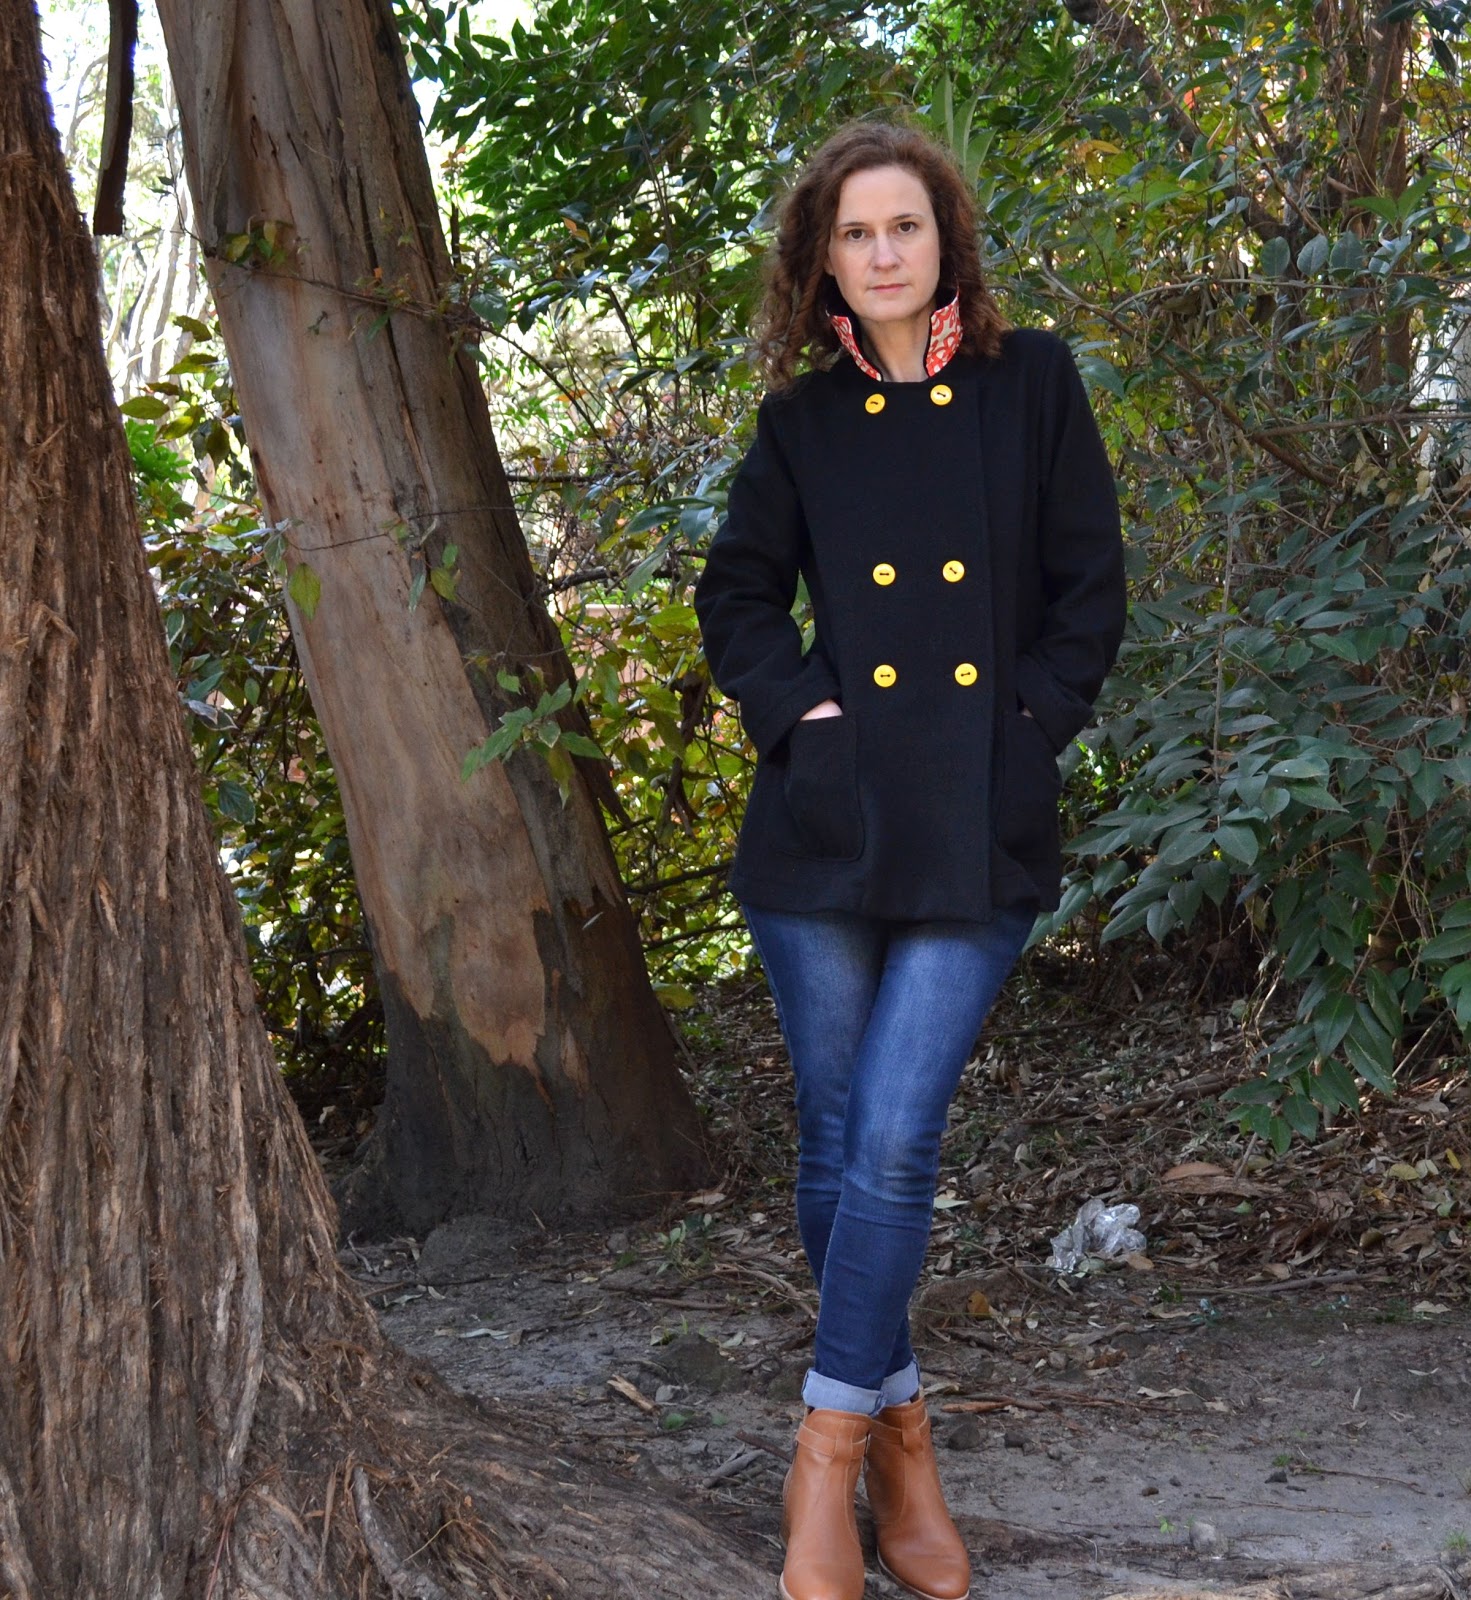
| Me shivering and looking grumpy about being outside in the cold |
I was not made for cold climes. My bones hurt, my skin resembles a lizard about to shed and I get tired of shivering. So much shivering. And my clients shrink away from my hands in horror at their frozen touch (it's ok, I am expected to touch them and it's not at all creepy... I swear).

Sydney homes are invariably not set up for cold weather. We have pathetic little heaters we drag out for about four weeks a year and swear next winter we're going to upgrade and get something a bit more effective.
But we never do. Because, four weeks! But lord those four weeks knock me off my normally warm little feet.
I needed a new coat, and fast. My Tessuti Sydney Jacket was simply not cutting the mustard in this (frigid) cold with its (ridiculous) 3/4 sleeves (I still don't get that). So what's a maker to do? We make!!

I had a piece of mystery coating fabric I picked up for a song at a Salvos Store a number of years ago that had been moldering in my stash. I'd known it was moth eaten along one edge, but I'd taken it with me anyway as I could tell that the rest (about 1.7m) was of reasonable quality. And then it just sat there.
I always thought that making a coat was too fussy. Involving too many tailoring techniques and such, when those who know me, know I like a quick-ish win.
But one can never forget the power of the Japanese pattern. How could I forget, since pretty much every item I make these days is from a Japanese pattern book? And after a little perusing I found the perfect match for my sensibilities and my stash fabric.

This is Coat 1-A from Aoi Koda's Pattern Lessons for Autumn and Winter Wear.
In my opinion there's a lot to love about this coat. It has the slightly more casual feel of a duffle coat (without the toggle closures I'm personally not that fond of) but with a nicely double-breasted closure. A soft, relaxed fit. A good partner to my everyday uniform of skinny jeans and boots.

Perfection. I just needed to figure out how to tetris my pattern around the moth eaten sections. And yay me! I did it!
In terms of the outer fabric it appears to be at least mostly wool. A burn test revealed nothing but natural fibre, and whilst I understand burn test results are often sullied in a mixed fibre cloth, there was absolutely no chemical smell or hard melted beading. And, shock horror, given that the fabric cost me next to nothing I decided to toss it in the washing machine on a wool cycle to pre-treat it and not only did it weirdly survive perfectly, but it stunk of wet sheep. Good enough for me.
I cut according to my measurements with a size 9 at the shoulder and bust, an 11 at the waist and a 13 at the hip (yes, hello pear). I did toile it in a delightful (not) piece of yellow corduroy to check fit and the only changes I made were to add 1cm to the length of the arms and 3cm to the jacket hem. I wanted it to cover my tush and it does rather nicely now.

The pattern calls for a different fabric for the under collar and back neck facing. I'm not sure what kind of fabric was suggested as my translator app completely threw up its hands. But I had a vision. A vision of using my carefully hoarded 1/2 yard of Amy Butler Lotus Wall Flower fabric. I don't even know what I was thinking when I purchased this 1/2 yard (!!) piece probably five years ago. But hooray! It finally found it's perfect home.

I just adore the pop of collar and whilst the weights of the fabrics are quite vastly different, I still think it works beautifully.

In my planning phase I also envisioned yellow binding used to finish the edges of the front and back facings. The pattern called simply for overlocking or zizagging the edges and that would have been adequate... but a bit un-special. I imagined my coat blowing open and seeing a cheerful pop of yellow against the black. Then I thought, why stop at that? I'll bind the sleeve and coat hem edges too instead of the double fold hem suggested.

 |
| This fabric seriously attracts link like nobody's business. I swear it's not pilling already. |
Then of course I had to have the yellow buttons to tie the look together. Because black is not normally my "thing".

I reinforced the pocket openings with the little triangle stitch thingy I always do on patch pockets and I'm kind of cursing myself that I didn't at least reinforce the pocket opening with stay tape if not actually fusing the entire patch. I can see how it

I went off piste from the instructions when I completely interfaced (fused) the front and back facing with whisper weft (or the medium weight version of this. I relied on the lovely Susan to advise me when I purchased these at Pitt Trading). I really felt it would better stabilise the edges, and the front as a whole, than the suggested fusible stay tape around the facing edges.
The pattern was untranslated which presented a few challenges since I'd never really made a coat before (the Sydney doesn't really count). I had made my Jacket Mona, but I was still puzzling over some of the diagrams. I had the genius idea to check some of my English translated tomes and lo and behold there were a few jacket patterns and the one step I couldn't quite work out was solved.
And in the end, I freakin' nailed it!!

P.S. Sorry for the deluge of photos, I'm just so crazily proud!!!
No comments:
Post a Comment
A comment? For moi? Why, thank you!